Note: This guide was written using the most recent Microsoft Outlook desktop application.
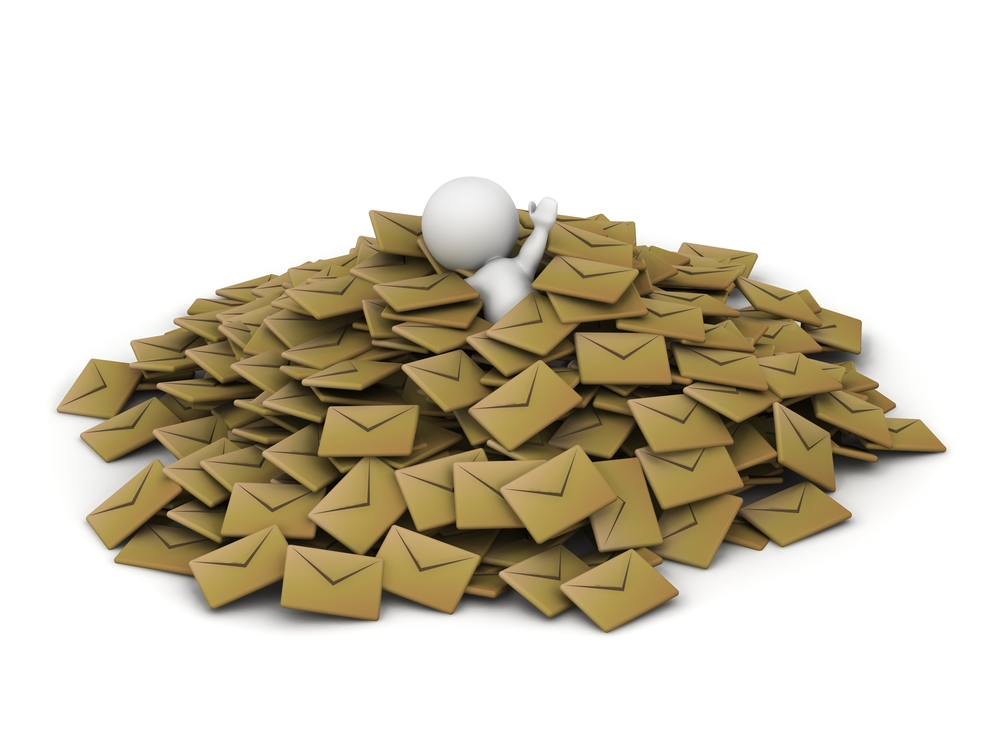
If you’ve ever wanted to take control of your overflowing inbox, you’re reading the right article. That’s because you’re about to discover my easy 3-step method for organizing and filtering your emails. And the good news is that this method works even if you don’t have prior experience with email filters.
Read on…
Step 1: Get to Know Your Email Inbox
Many people new to email organization don’t realize that they need to review their inbox(es) before they can start filtering their emails. And that’s why many people who try to organize their inbox(es) fail – they’re simply missing this crucial step.
You need to take some time to review your inbox and understand how you use it. This will help you identify the types of emails you receive and the ones you want to prioritize. You’ll find that this part of the process goes much more smoothly if you apply these tips and tricks:
- Use the search bar to find specific emails or keywords
- Sort your emails by sender, subject, or date to better understand patterns
- Create folders for different categories of emails, such as work, personal, and subscriptions
Once you’ve completed this first step, then you can move on to the next step…
Step 2: Create Rules and Filters
The next thing you need to do is to create rules and filters to sort and categorize your emails automatically. When I first started organizing my inbox, I made many mistakes. And now that I’ve helped others do it, I see a lot of people tend to make the same mistakes. So let me share with you the top mistakes and how to avoid them:
- Creating too many rules, which can become confusing and hard to manage
- Not using specific criteria may lead to important emails being filtered out
- Not regularly reviewing and updating your rules can result in outdated filters
- Not building easily identifiable folders to store the filtered emails (I sent many to the trash bin, which caused me to turn off the filters and rules)
To create a rule in Outlook, follow these steps:
- Click on “File” in the top-left corner of the Outlook window. • Select “Manage Rules & Alerts.”
- Click on “New Rule.”
- Choose a predefined rule or create a custom rule.
- Specify the criteria for your rule, such as sender, subject, or keyword.
- Choose the action you want to take for emails that match your criteria, such as moving to a specific folder or mark as read.
- Review and test your rule to ensure it’s working correctly.
- Repeat these steps for additional rules.
Step 3: Maintain and Reevaluate Your Rules
You will likely notice that your inbox is much more organized and manageable at this step. So, what you need to do is to maintain and reevaluate your rules regularly.
I remember the first time I organized my inbox and created filters. I was amazed at how much time it saved me and how much less overwhelmed I felt. To maintain your rules, follow these tips:
- Regularly review your rules and make changes as needed
- Delete any unused or outdated rules
- Keep your folders organized and tidy
And there you have it – a simple 3-step method for organizing your
Until next time, this has been your friendly neighborhood Vp of Technology, Michael Levesque.
P.S. Be sure to like and follow us on Facebook and LinkedIn.